I’ve replaced LCD panel in ASUS M3000Np laptop. It wasn’t too hard. Here is the “how to” report:
Broken laptop’s screen laptop after the son kicks it off.
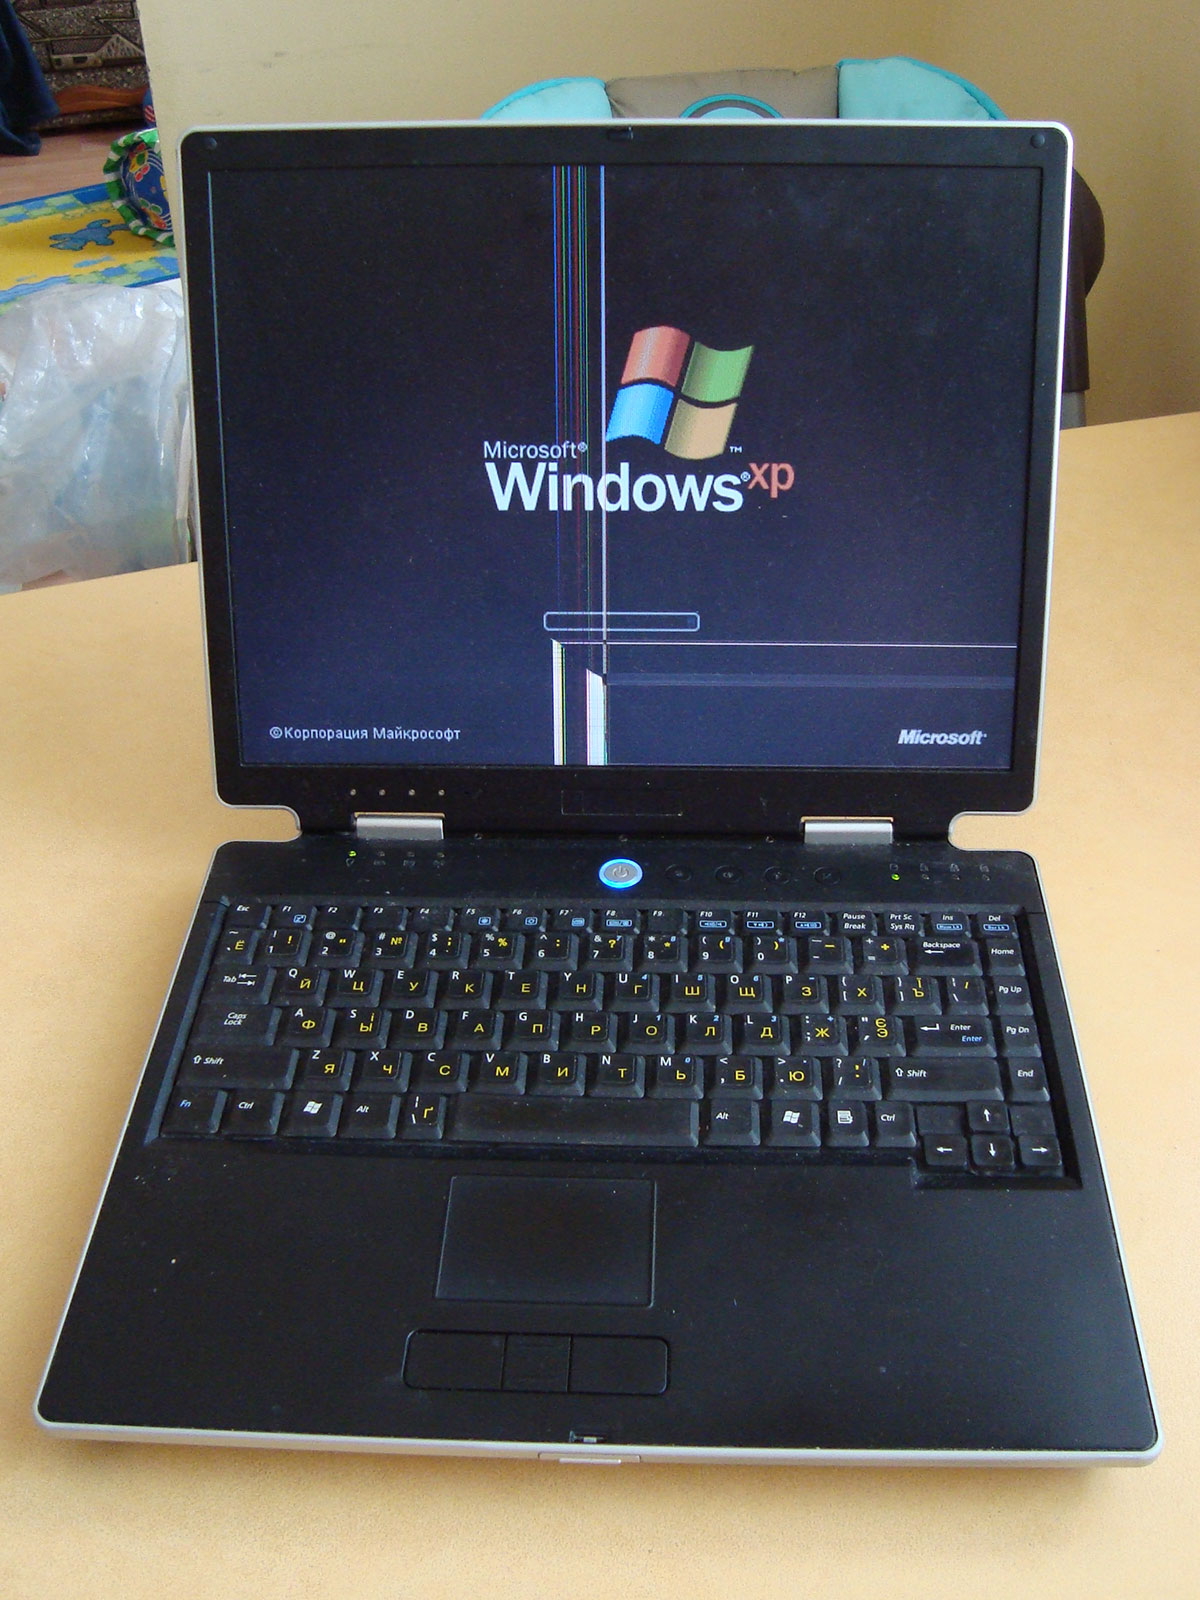
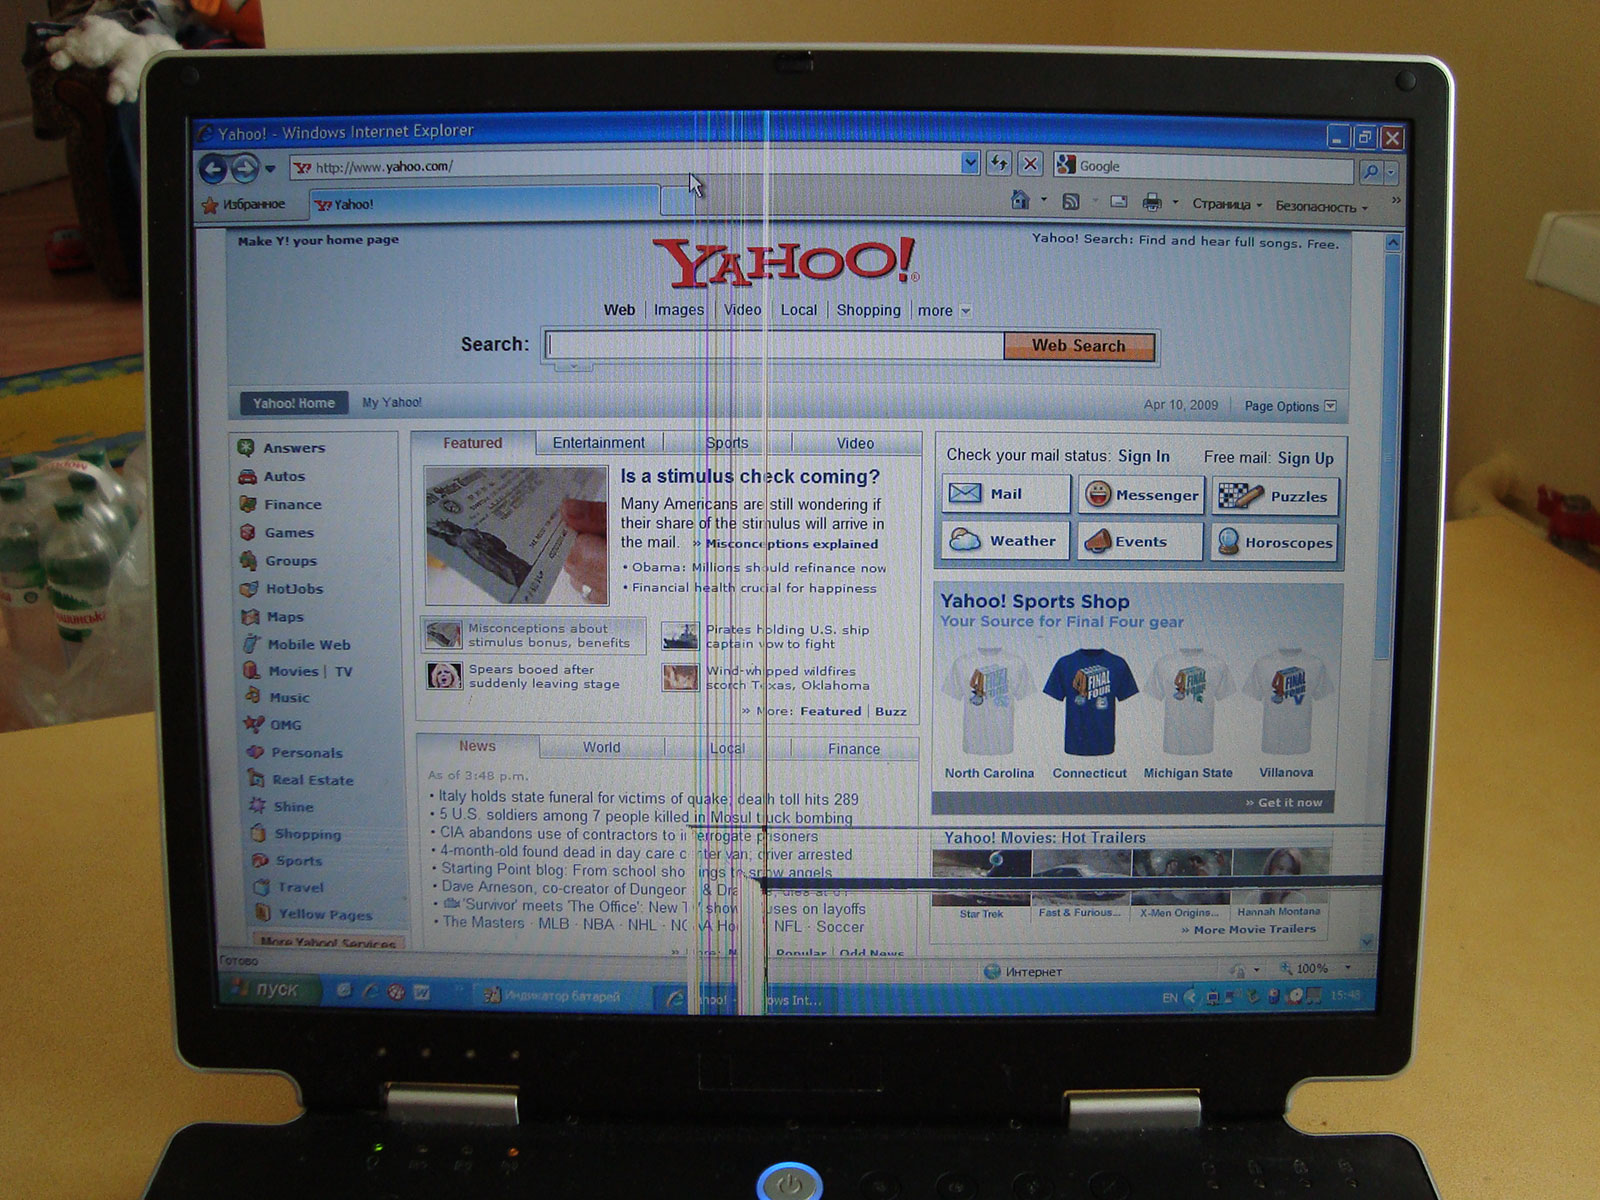
Well, lets try to fix this using the screen panel from another, non working notebook.
Disassembling of the notebook’s case is a some kind of quest 🙂
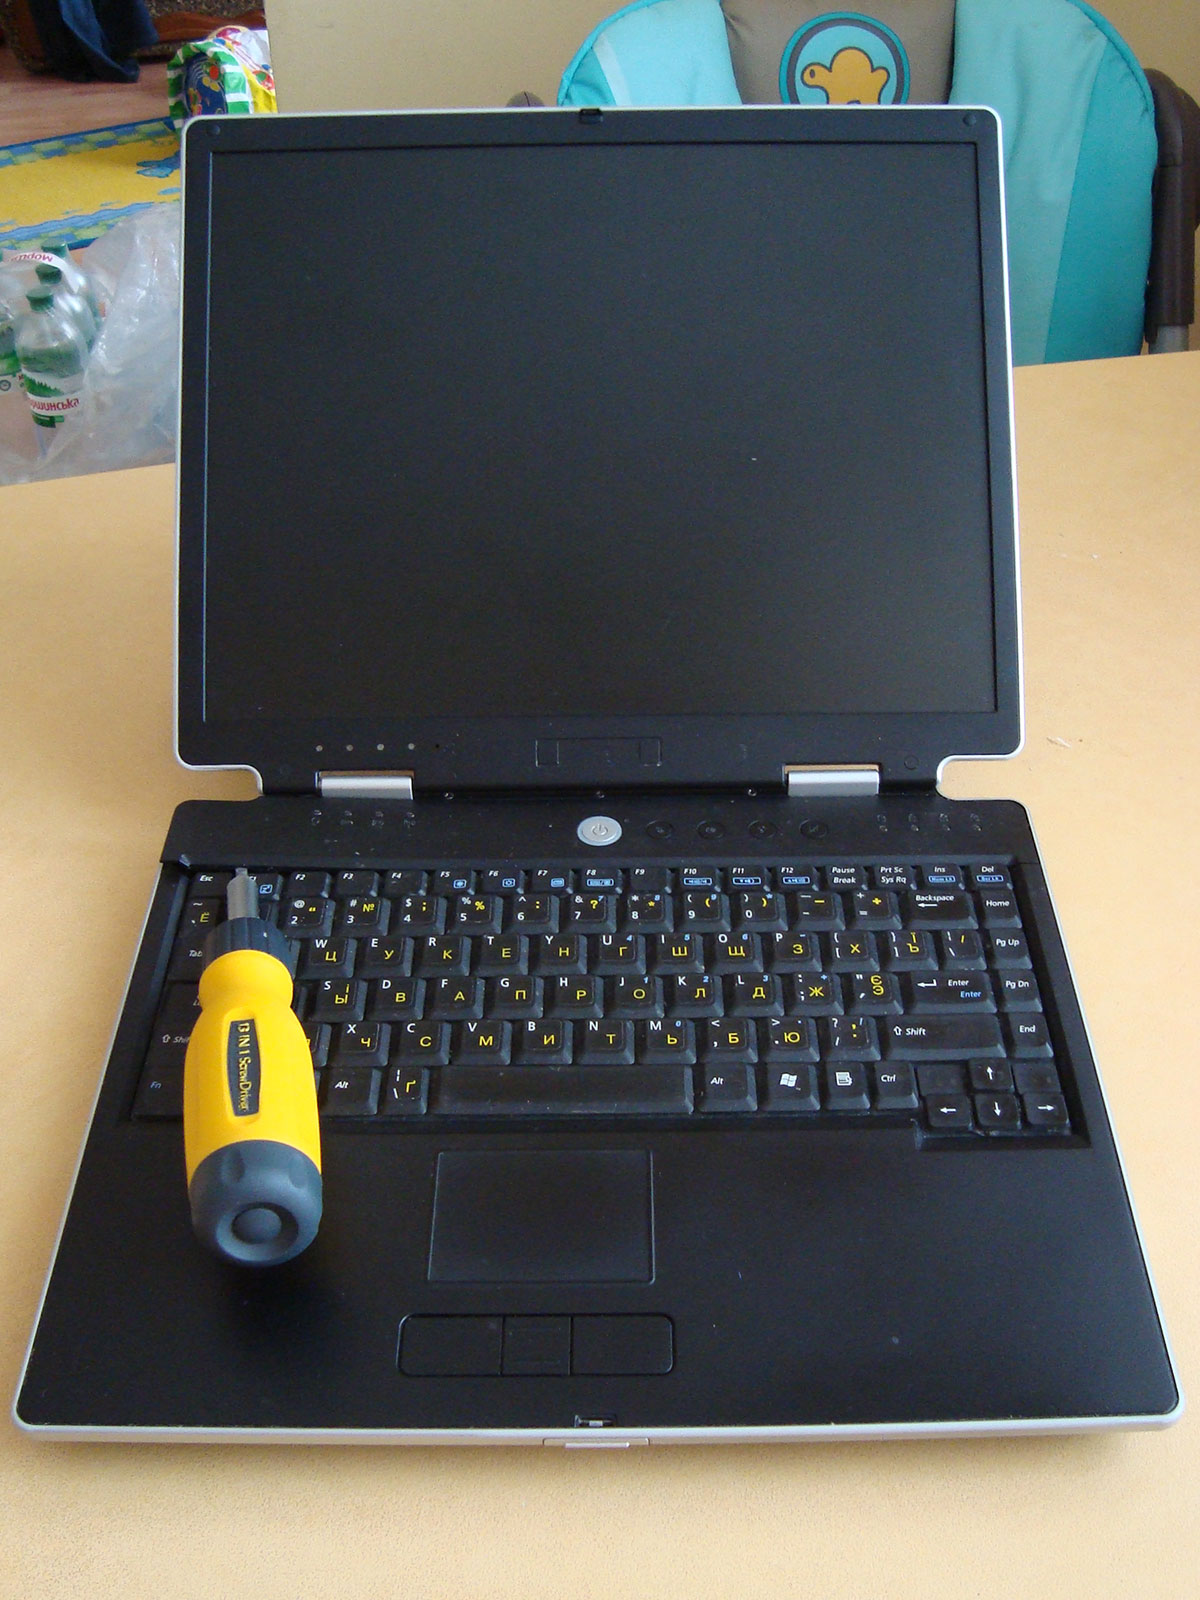
We need to remove a plastic frame around the screen:
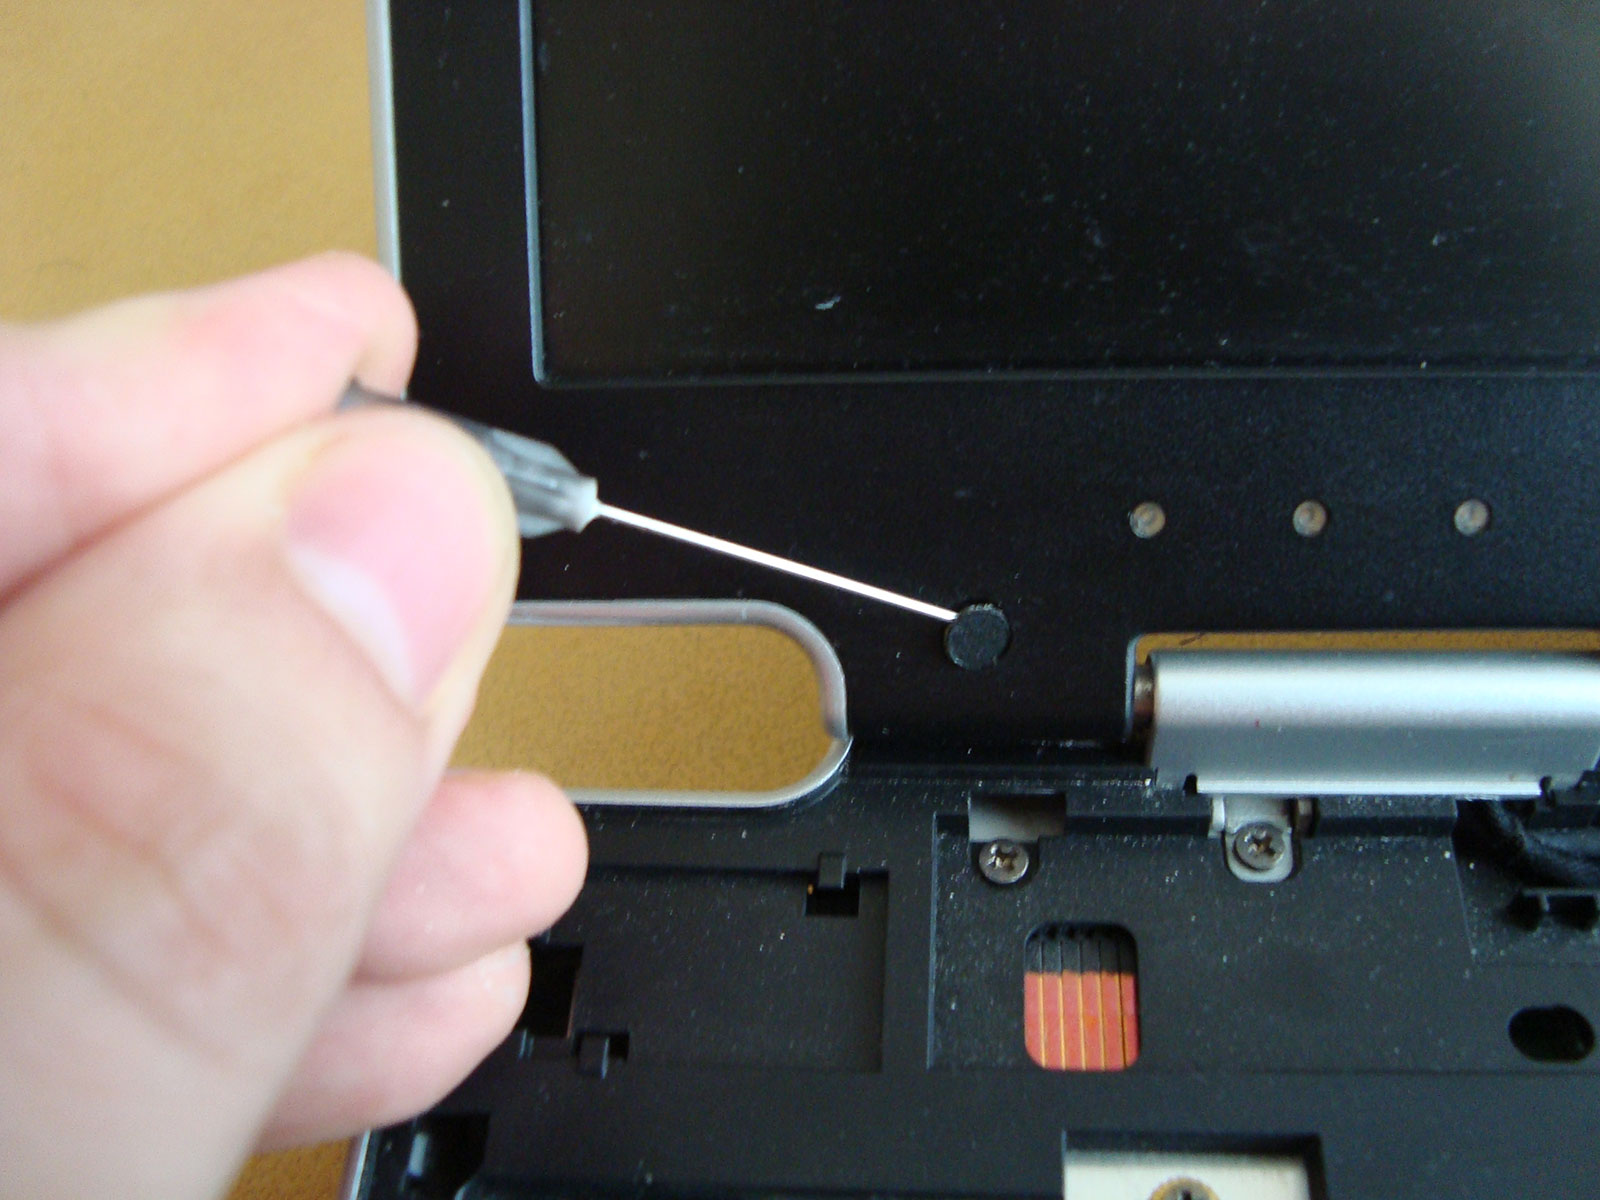
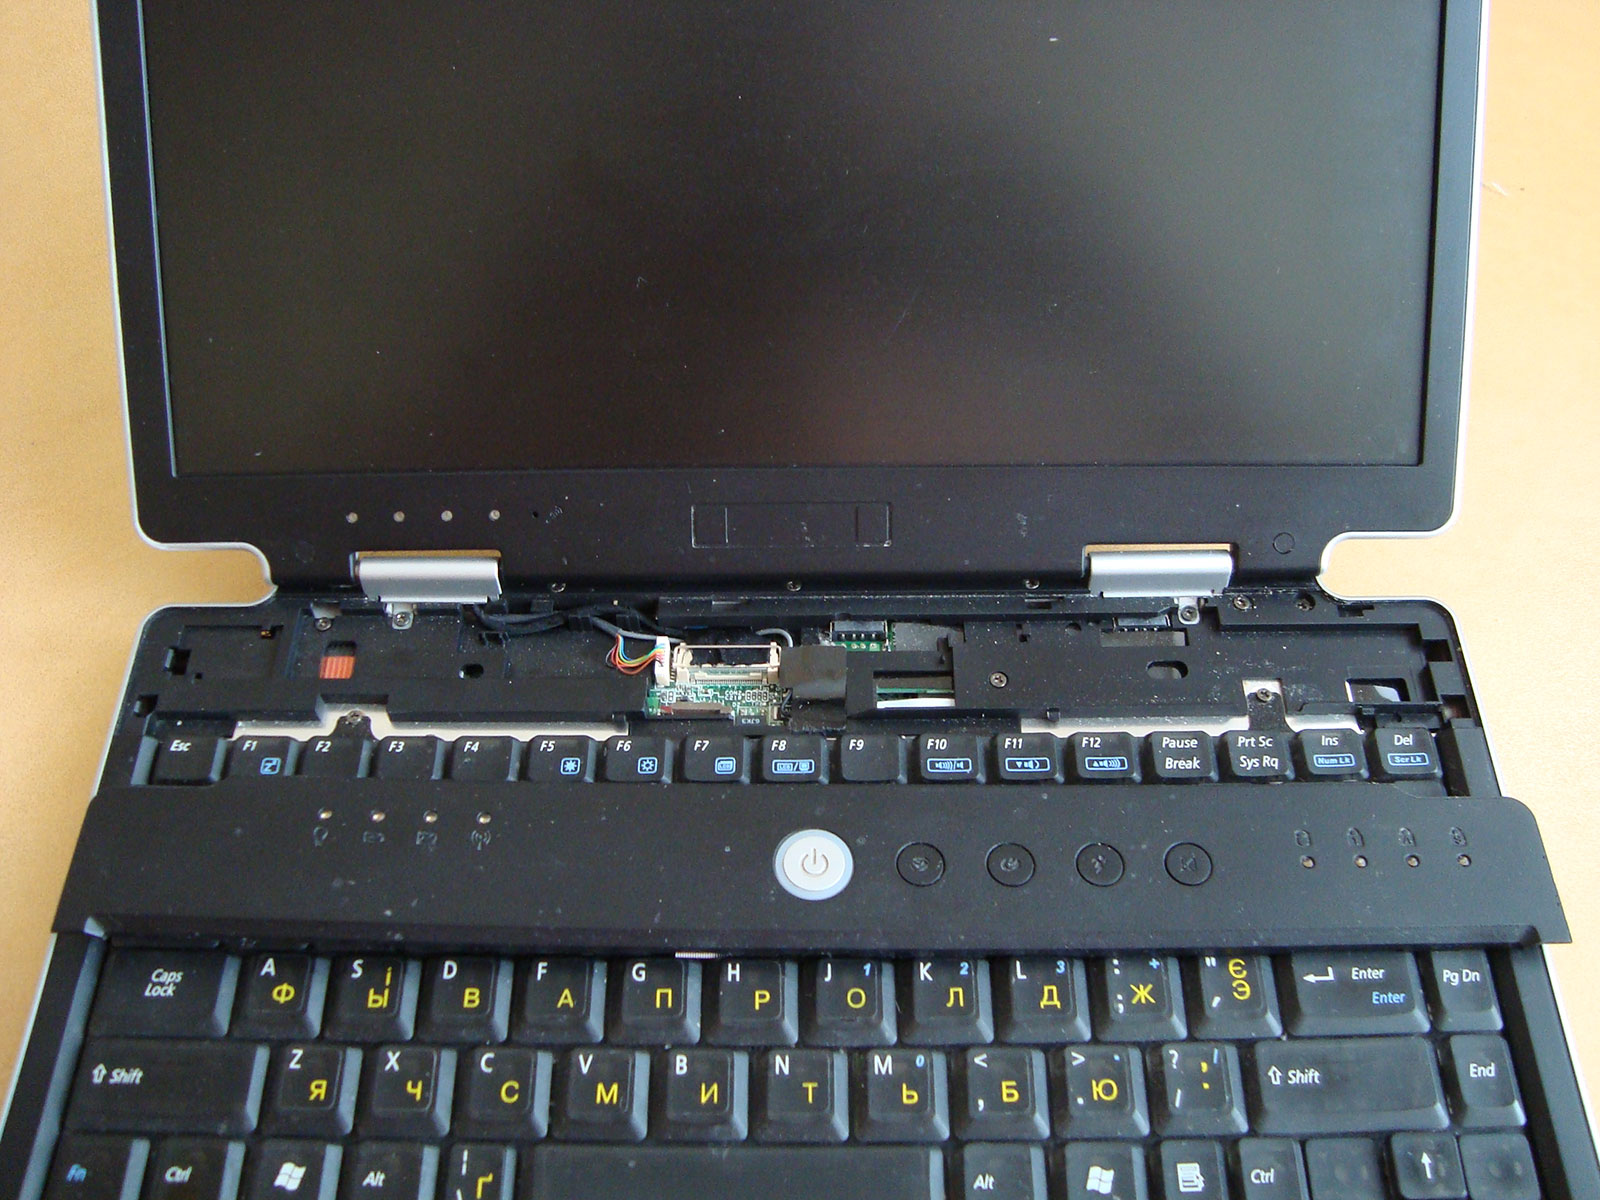
Screen frame is easy to remove now, but be careful! Use screwdriver or guitar pick to release all latches.

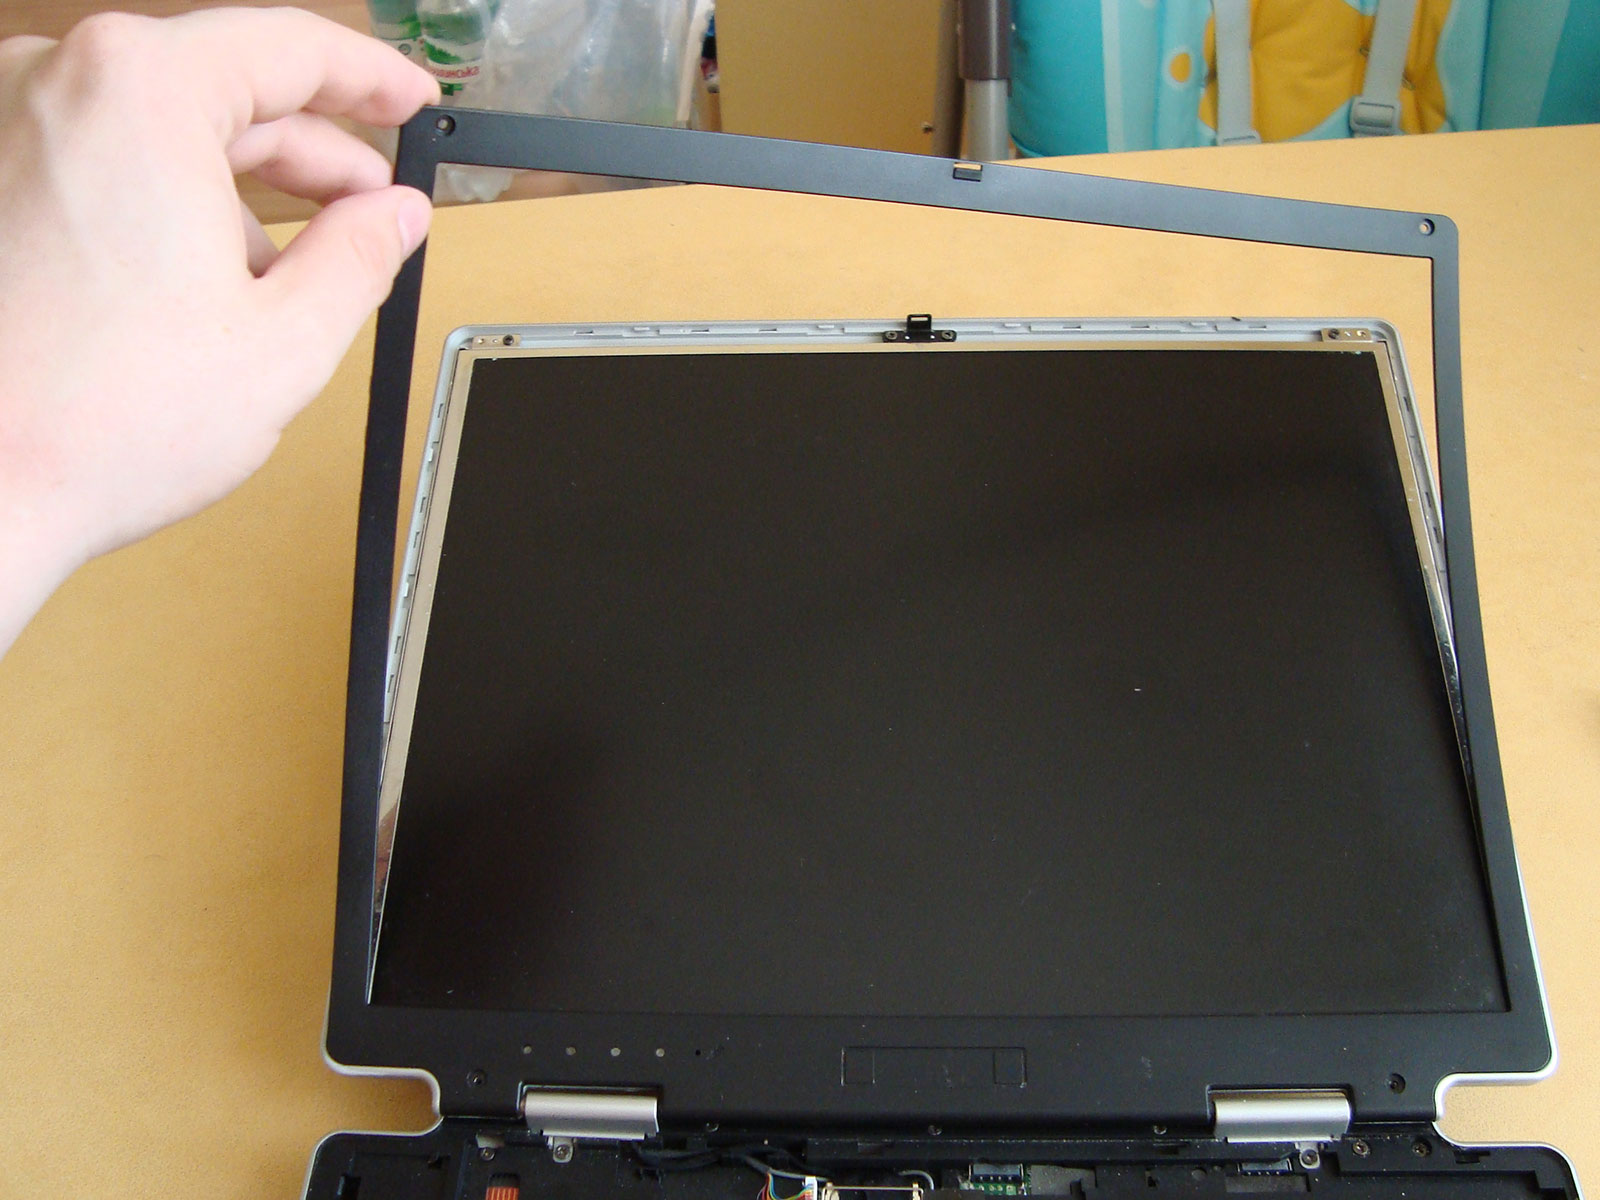
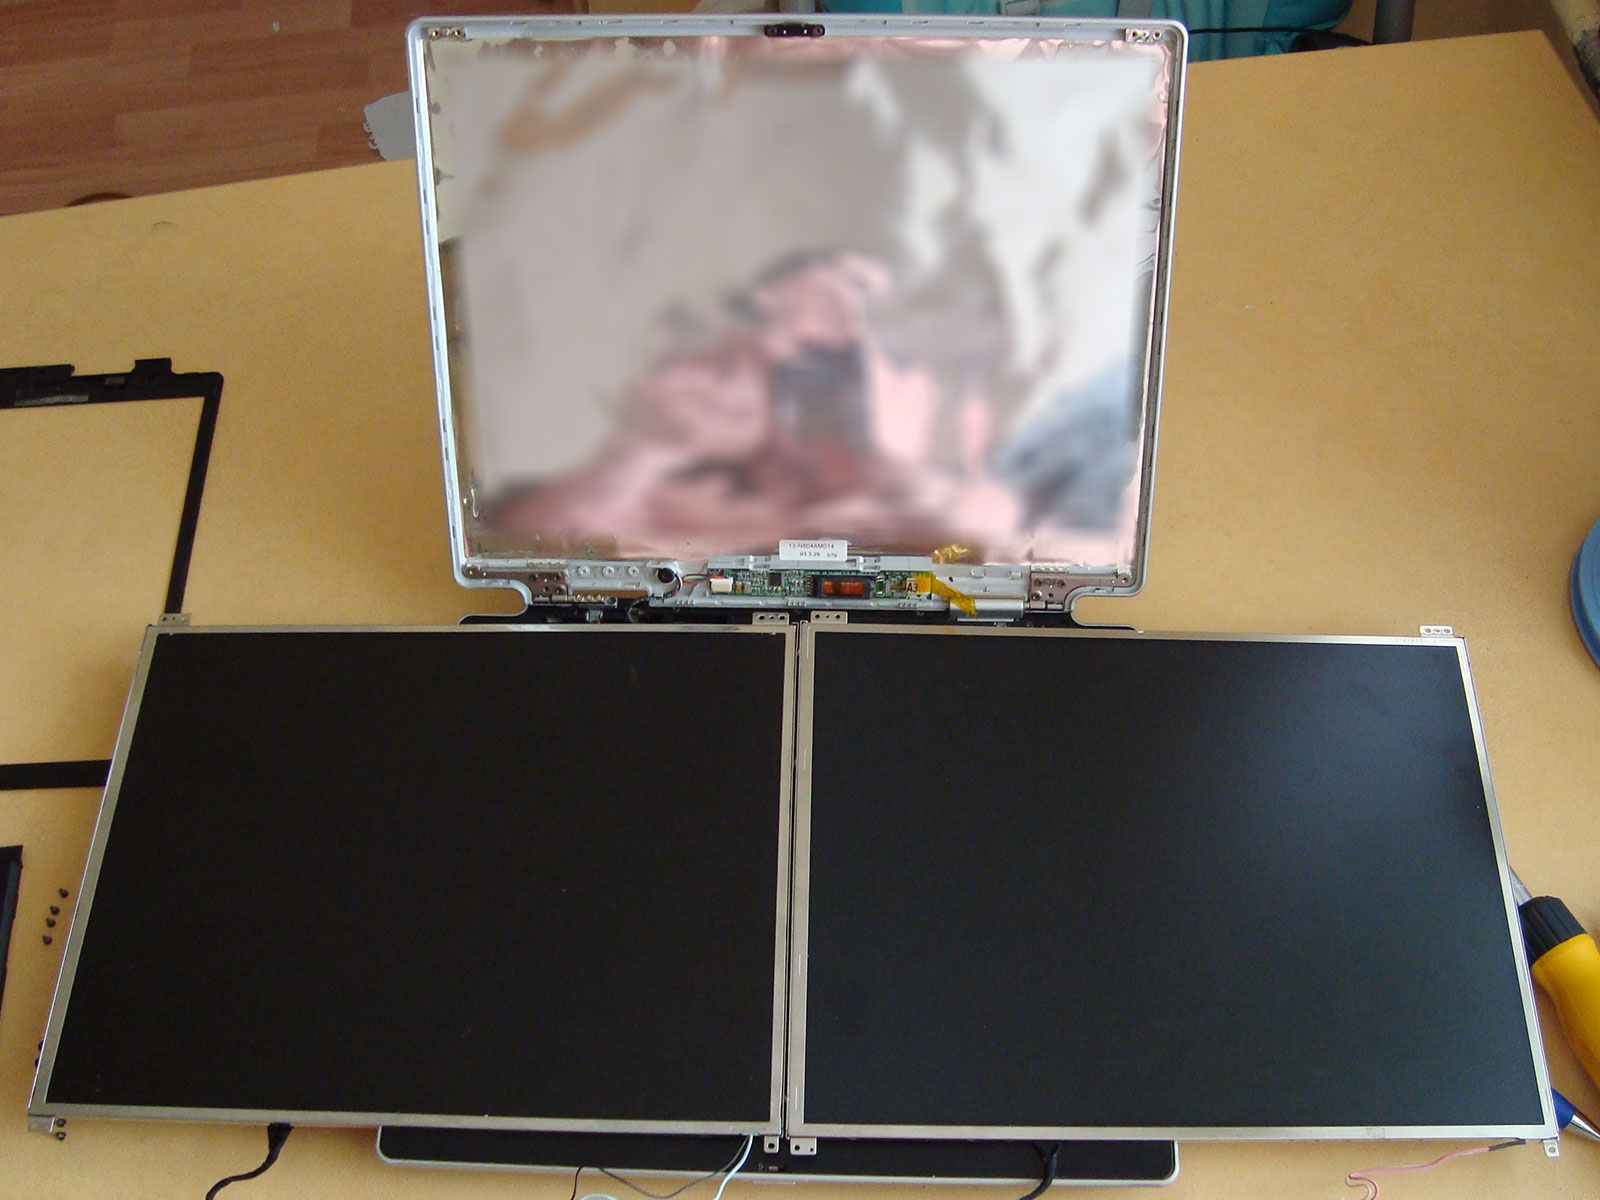
We’ve got access to LCD panel. Remove 4 corner screws and take out the old screen.
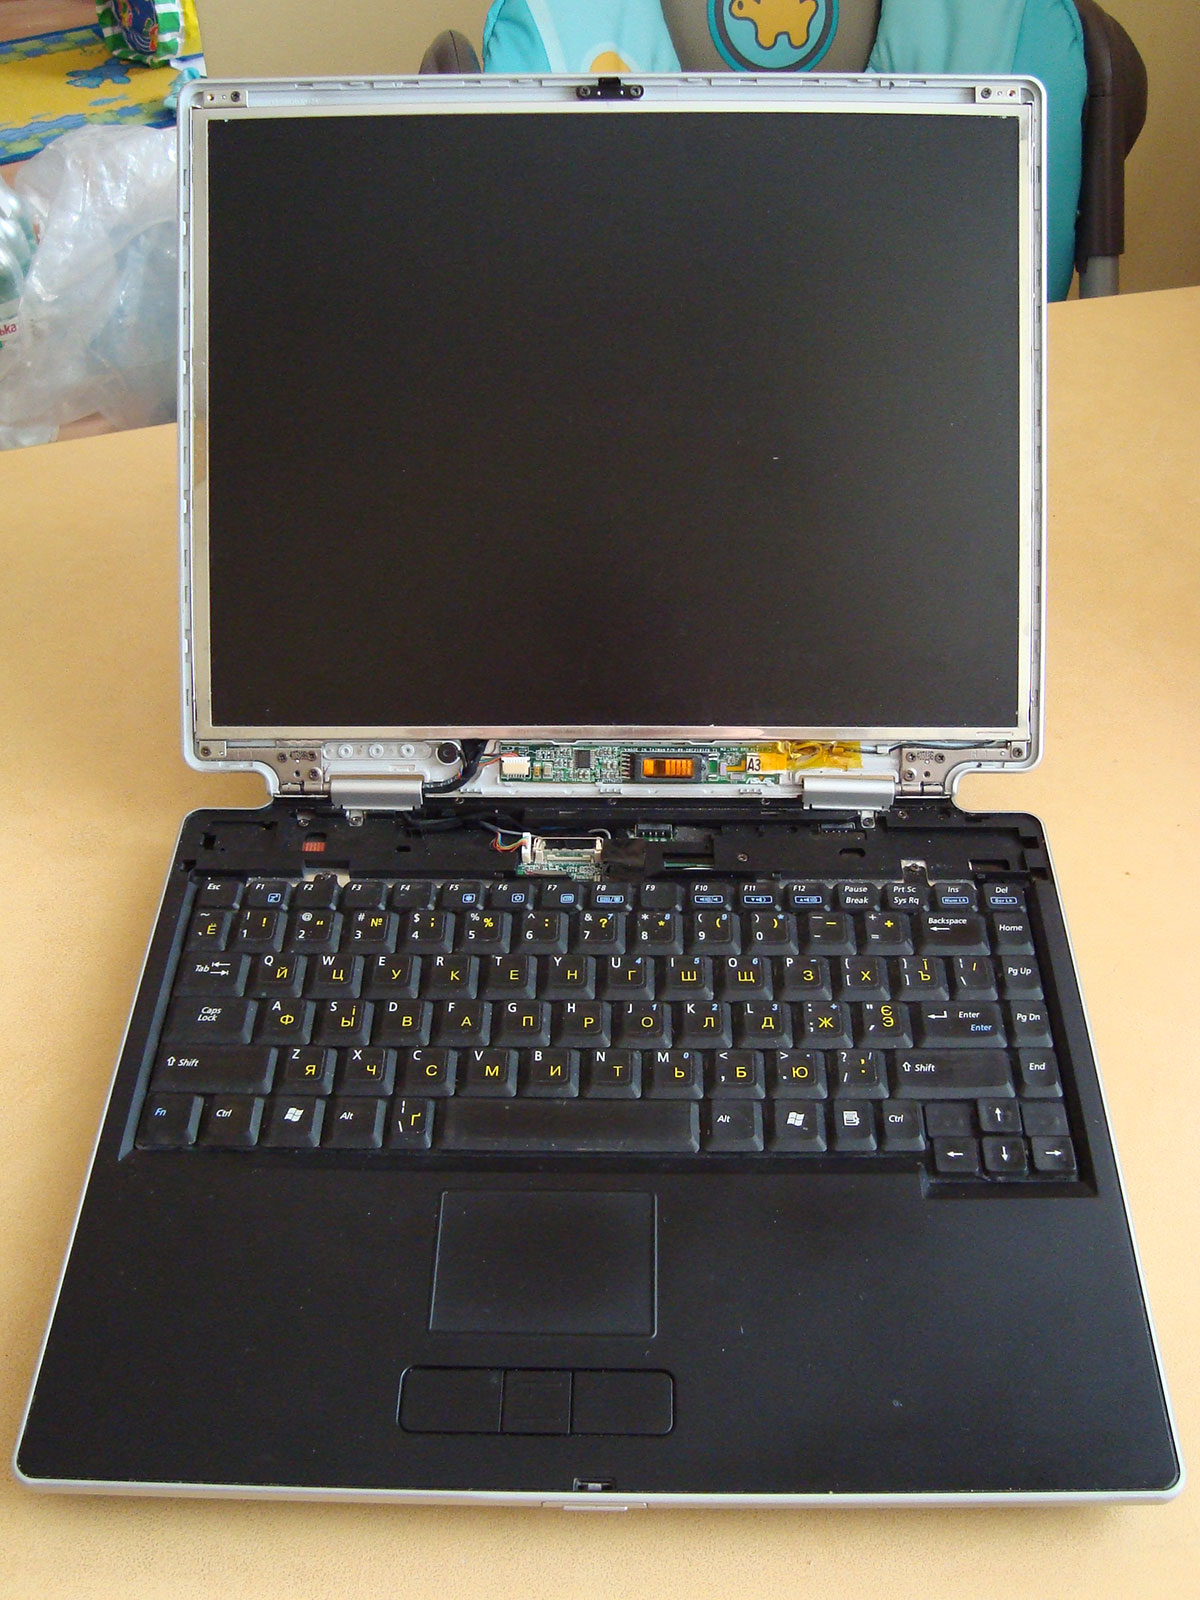
Take another screen panel and compare to the old one. They should absolutely match each other.
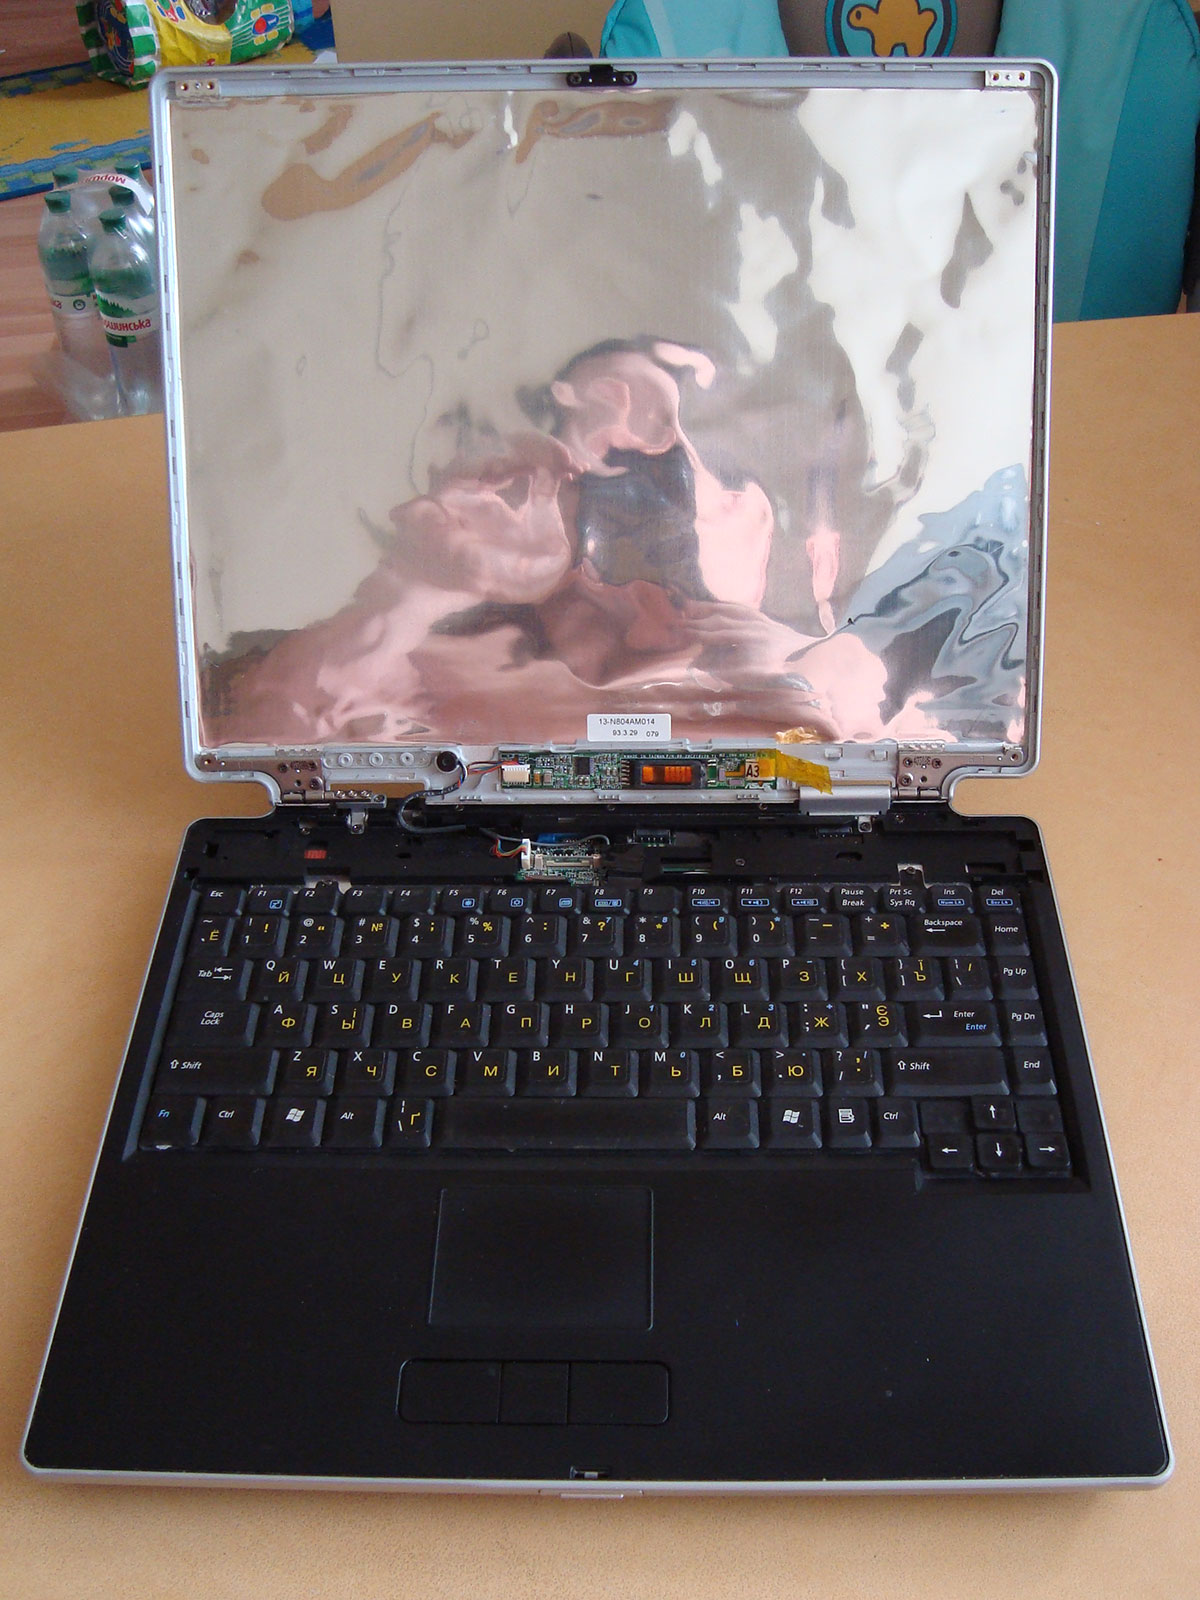
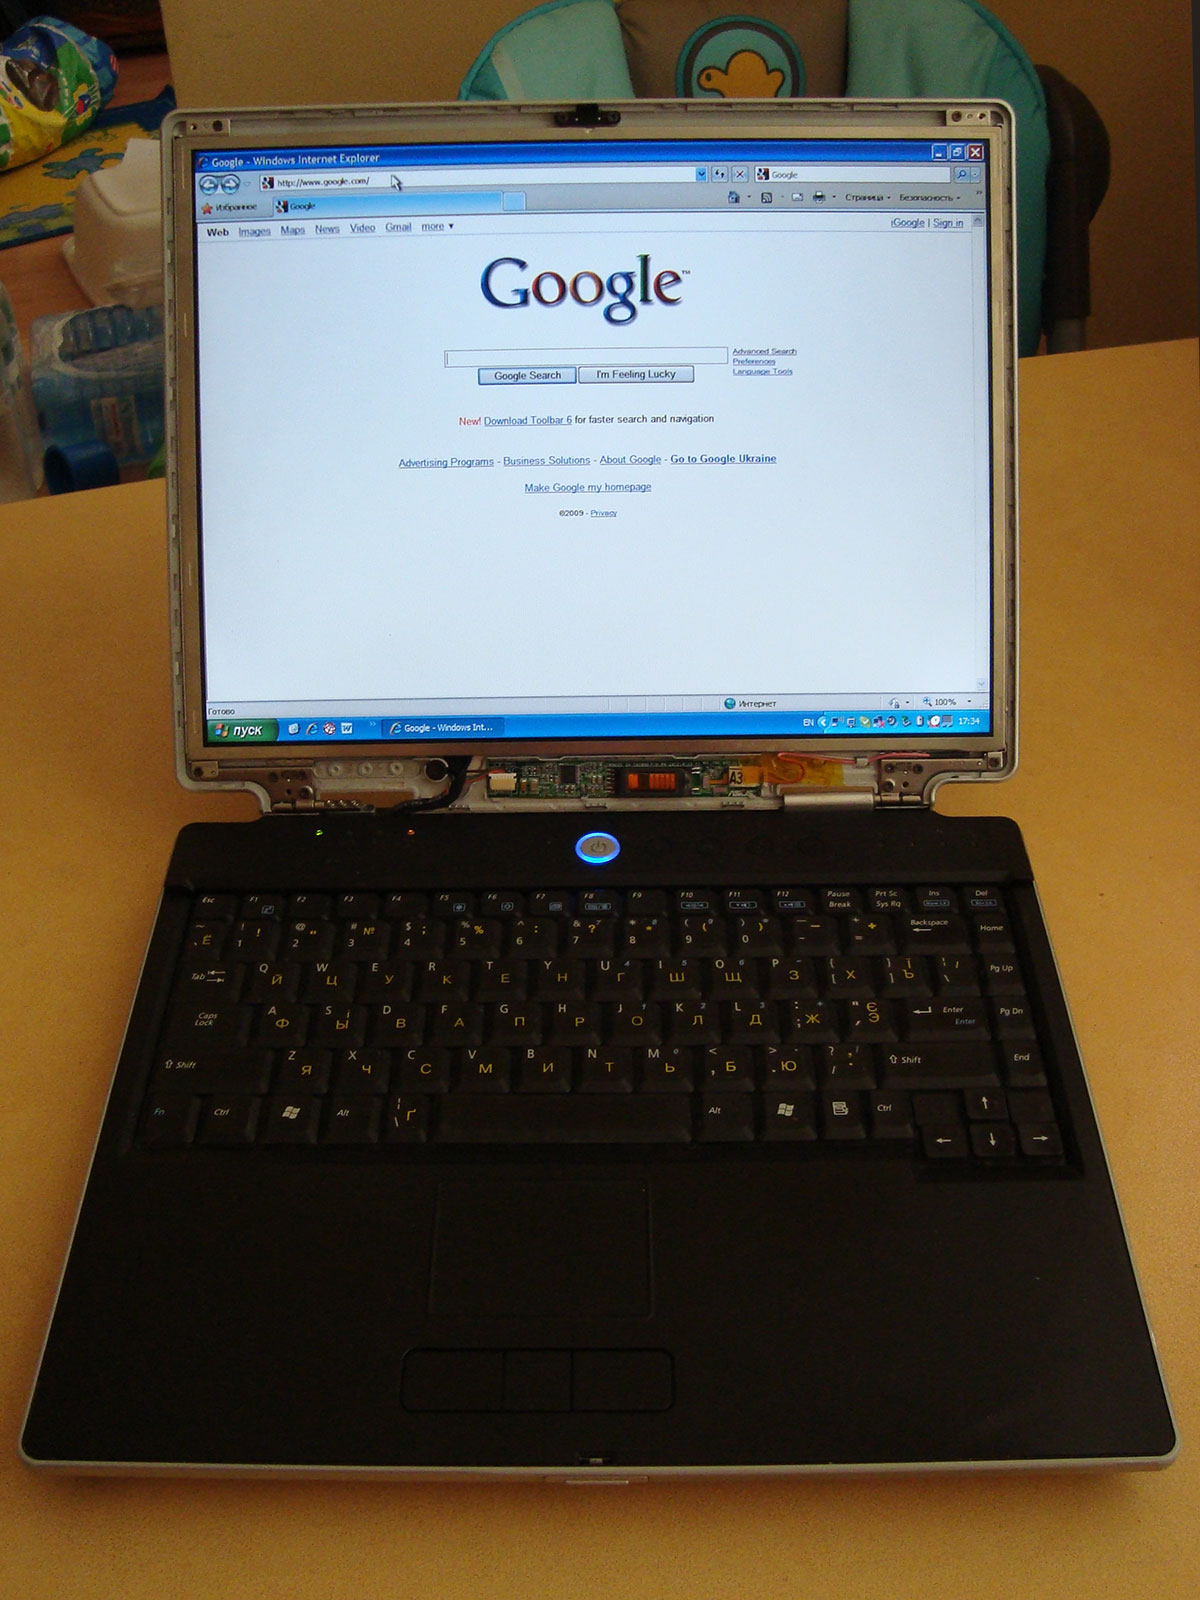
After plugging the new screen panel, before the assemble, turn the laptop on to verify is everything working fine.
Everything looks fine, so continue to assemble the laptop.
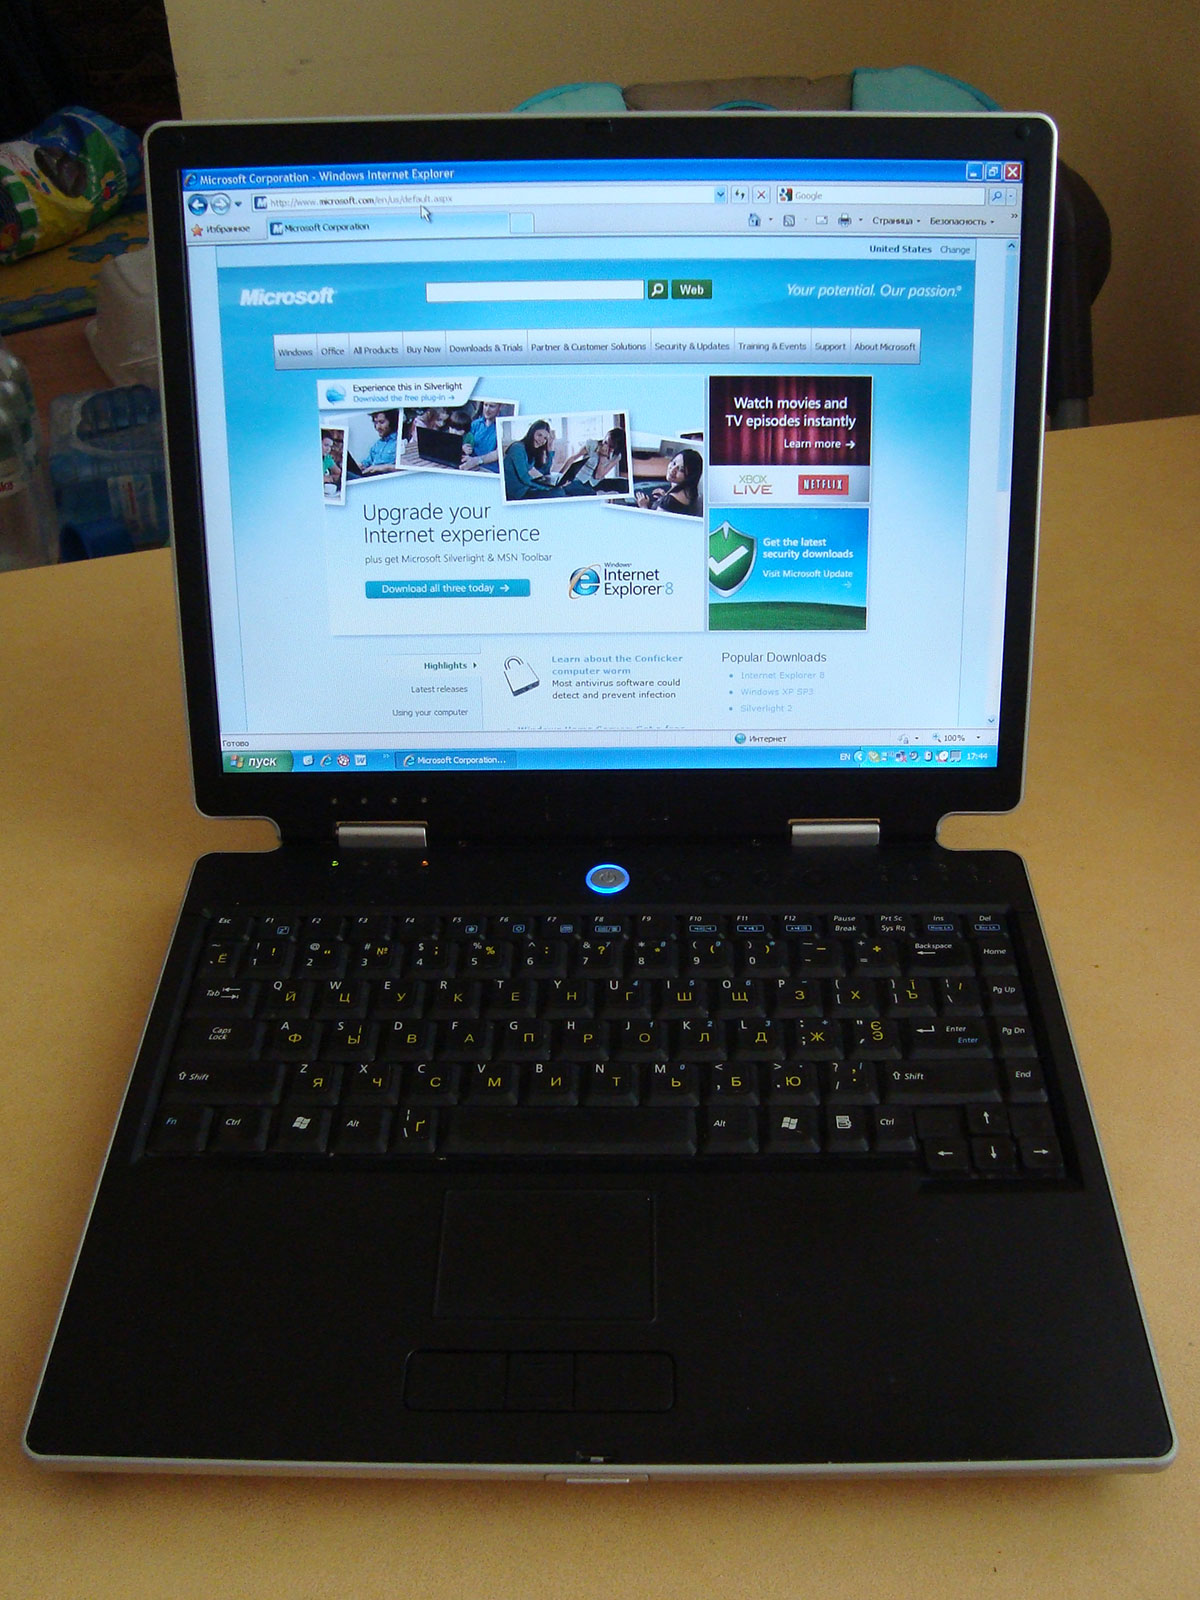
Repairing is complete. Everybody’s happy 🙂