Tune up WordPress like a Pro

I have lot of working experience with websites built using WordPress CMS, here are some of my notes as a developer:

Do not change code files directly!

Do not change core, themes or other files directly! Any update of WordPress, theme or plugin will remove all your changes.

If you decide not to update the components of the web-site, it will become compromised or will not work with latest versions of browsers.

Use child theme technique if you need serious changes in some WordPress theme.

Use short-codes for own scripts

Better use custom [short-codes] instead of inline <?php … ?> scripts in your post and pages. Vulnerabilities in PHP enabled plugins widely used by hackers.

You can easily create any amount of custom [short-codes] using Code Snippets or similar plugin.

Use this code to add tags and categories to WordPress pages. You will be able to put pages into categories or to assign tags for them.

It is a good idea to have pages with lists of categories and tags. Content of such “archive” pages could be generated using List of Categories and List of Tags short codes.

Set of useful plugins

All my websites uses following plugins:

  • JetPack
  • Code Snippets
  • Head, Footer and Post Injections
  • Some Cashing plugin

I often use:

  • W3 Total Cache
  • Advanced Custom Fields
  • Yoast SEO
  • Bulk Delete

Update: Nowadays, I have to use Classic Editor plugin for websites with lots of custom html and java-script codes.

Everything could be extended

WordPress is very versatile. You can change almost everything, just use the right way.

Happy codding 🙂
How I create software

This is a screen-cast (in x8 speed) of all processes are required to create the desktop program for Windows and then to publish the software product online.

As you see, coding takes less than half of time. Making good screenshots is just as important as the quality of the programming code. Nowadays, social profiles are even more important than a web site for the product.

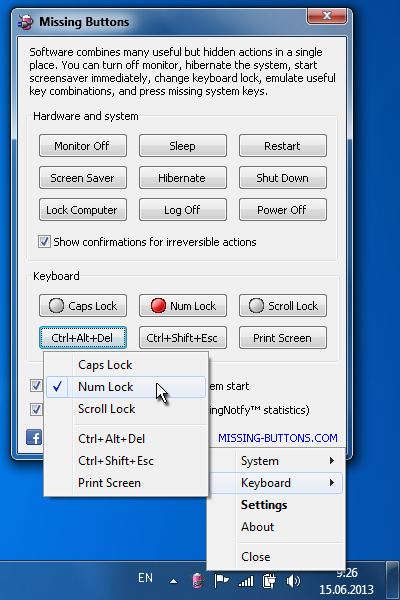
Program on the video is a first version of the Missing Buttons software.

Screenshot of Missing Buttons software

Via 5 countries in Europe by Car

Traveling by car from Amsterdam to Eindhoven, but not in the shortest way 🙂

We traveled through 5 countries, visiting some of them more than once: Netherlands, Belgium, France, Luxembourg, Germany, and again: Belgium and Netherlands.

We’ve visited Rotterdam, Kinderdijk, Antwerpen, Brugge, Blankenberge, Gent, Brussels, Namur, Longwy, Luxemburg, Bitburg, Liege, Maastrcht, Eindhoven.

We were renting Toyota Auris Hybrid car at Avis. It takes only 5.1 liters per 100 km with 4 people and baggage!

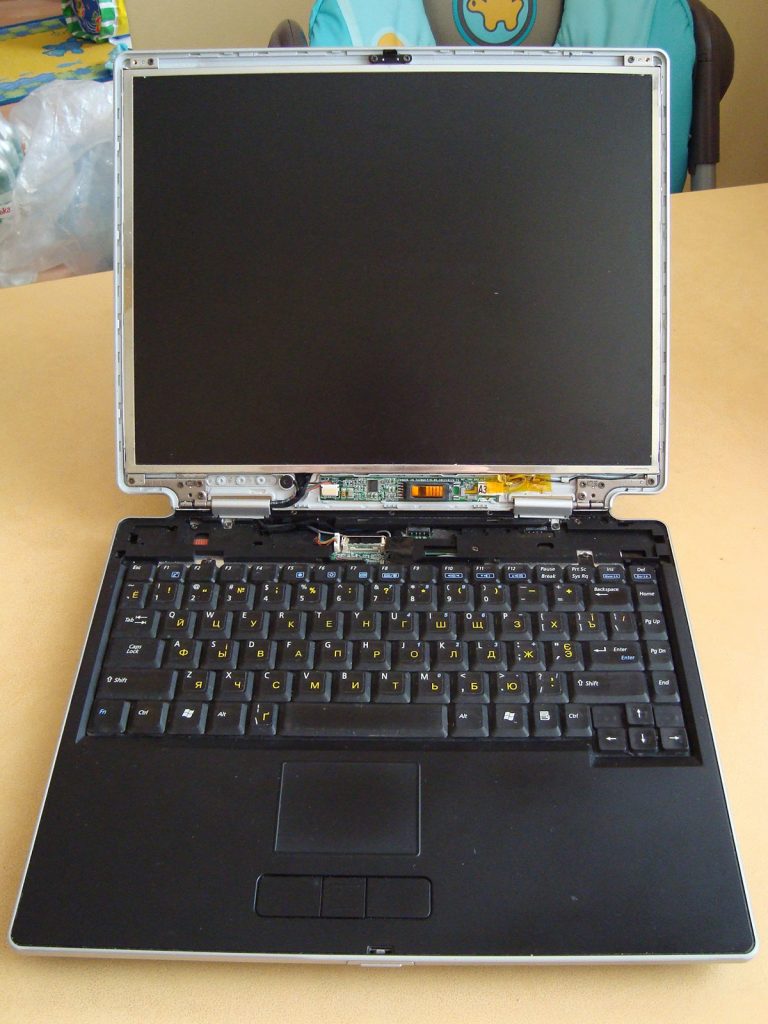
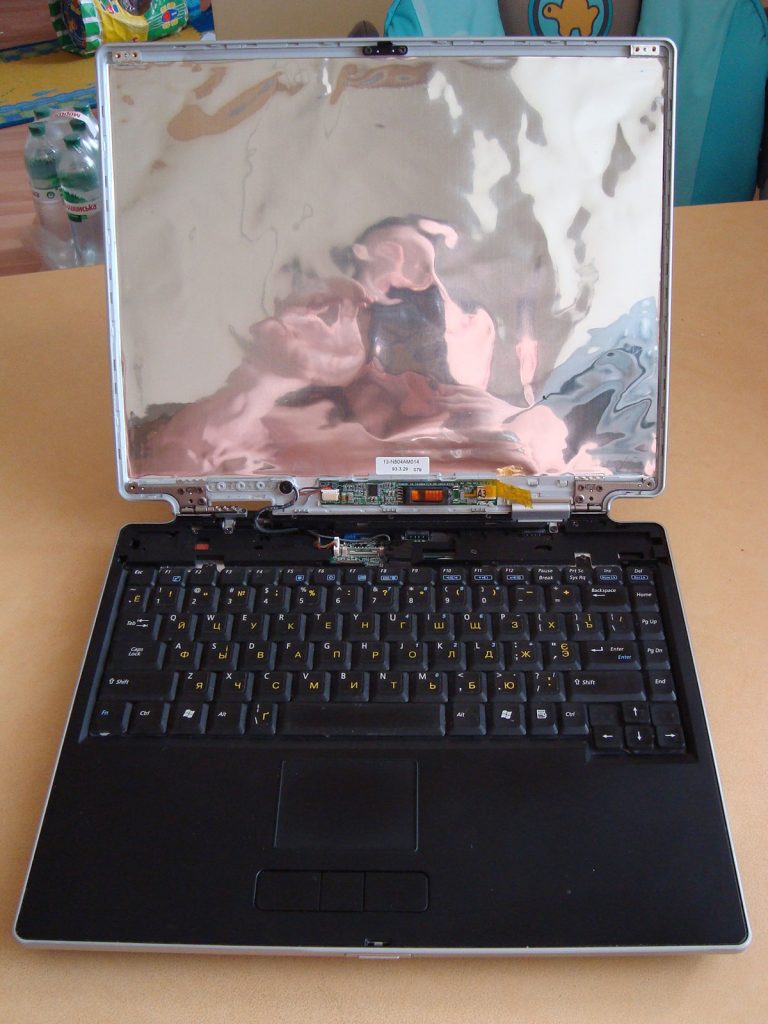
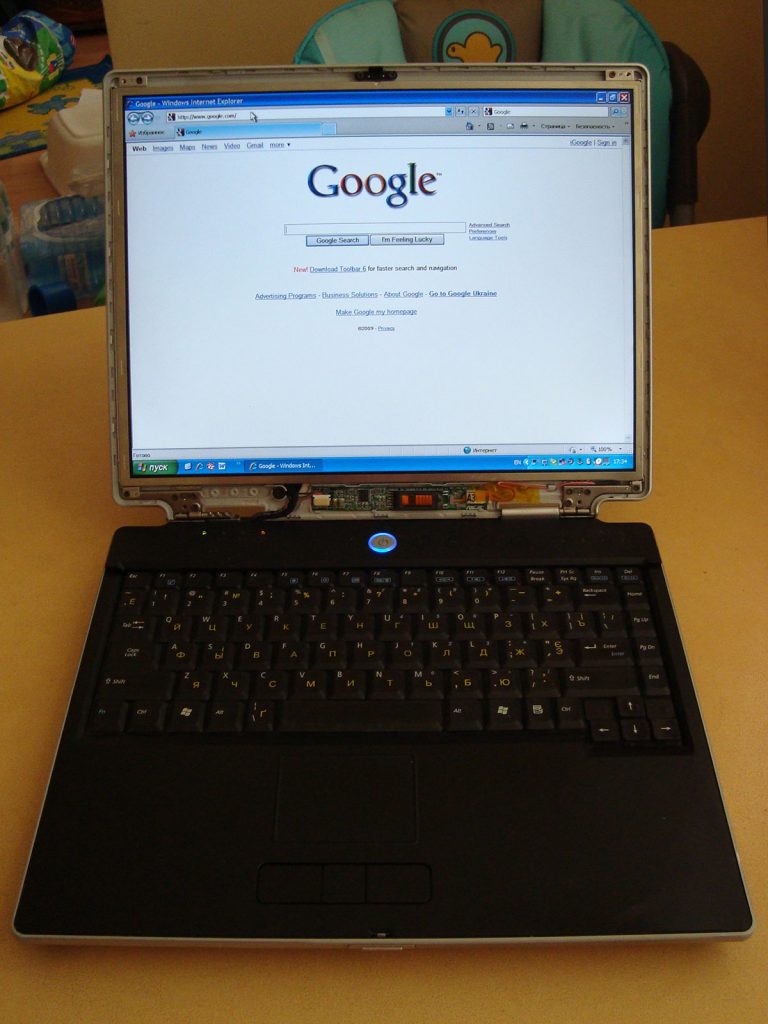
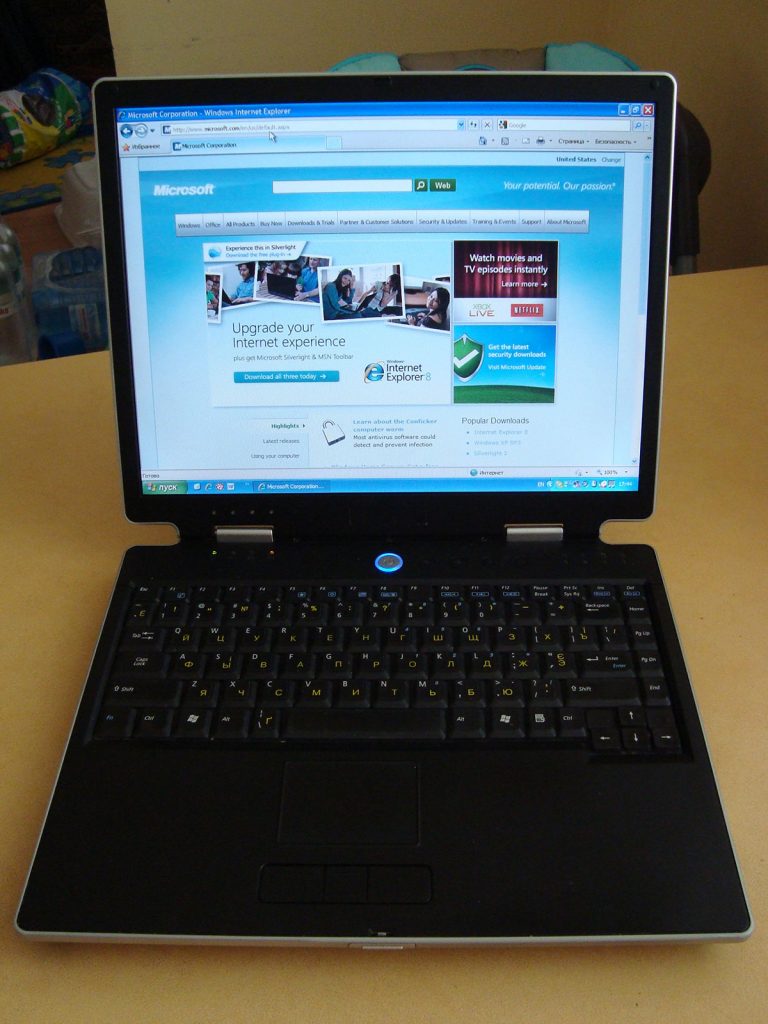
How to repair screen in laptop

I’ve replaced LCD panel in ASUS M3000Np laptop. It wasn’t too hard. Here is the “how to” report:

Broken laptop’s screen laptop after the son kicks it off.

Notebook ASUS M3000Np with broken screen
Looks ugly, I can't even read half of text.

Well, lets try to fix this using the screen panel from another, non working notebook.

Disassembling of the notebook’s case is a some kind of quest 🙂

Open ASUS M3 laptop case. Use screwdriver near Esc key to lift up the top panel.
Power button panel removed

We need to remove a plastic frame around the screen:

Remove screw hole covers using some needle or other tool

Screen frame is easy to remove now, but be careful! Use screwdriver or guitar pick to release all latches.

Use screwdriver or guitar pick to release latches around the frame
The frame is ready to be removed. Be careful, don't rush

We’ve got access to LCD panel. Remove 4 corner screws and take out the old screen.

LCD screen panel in ASUS M-3 laptop
Screw out corner fixes and take the screen panel out

Take another screen panel and compare to the old one. They should absolutely match each other.

Old and new LCD screen panels to compare

After plugging the new screen panel, before the assemble, turn the laptop on to verify is everything working fine.

Placing new screen panel to ASUS M3 laptop

Everything looks fine, so continue to assemble the laptop.

Put back the screen frame and the power button panel. Repairing is complete.

Repairing is complete. Everybody’s happy 🙂